Get Started
A Short History of Git
As with many great things in life, Git began with a bit of creative destruction and fiery controversy.
The Linux kernel is an open source software project of fairly large scope. During the early years of the Linux kernel maintenance (1991–2002), changes to the software were passed around as patches and archived files. In 2002, the Linux kernel project began using a proprietary DVCS called BitKeeper.
In 2005, the relationship between the community that developed the Linux kernel and the commercial company that developed BitKeeper broke down, and the tool’s free-of-charge status was revoked. This prompted the Linux development community (and in particular Linus Torvalds, the creator of Linux) to develop their own tool based on some of the lessons they learned while using BitKeeper. Some of the goals of the new system were as follows:
- Speed
- Simple design
- Strong support for non-linear development (thousands of parallel branches)
- Fully distributed
Able to handle large projects like the Linux kernel efficiently (speed and data size). Since its birth in 2005, Git has evolved and matured to be easy to use and yet retain these initial qualities. It’s amazingly fast, it’s very efficient with large projects, and it has an incredible branching system for non-linear development.
Installing Git
Before you start using Git, you have to make it available on your computer. Even if it’s already installed, it’s probably a good idea to update to the latest version. You can either install it as a package or via another installer, or download the source code and compile it yourself.
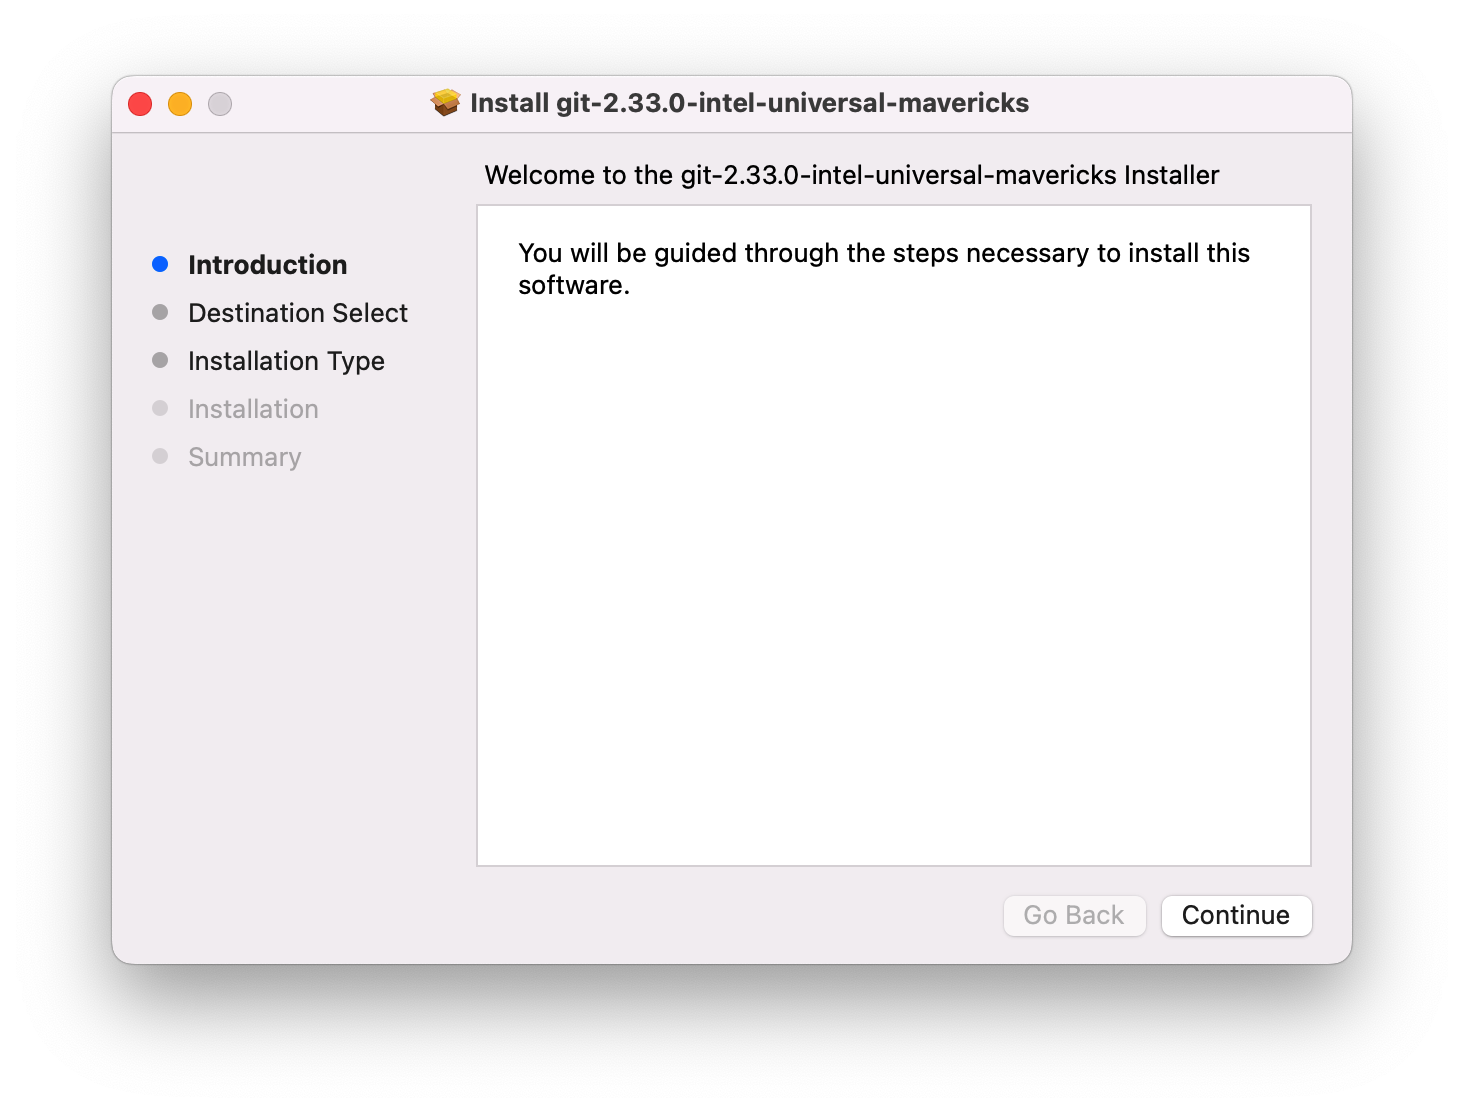
Installing on macOS
There are several ways to install Git on a Mac. The easiest is probably to install the Xcode Command Line Tools. On Mavericks (10.9) or above you can do this simply by trying to run git from the Terminal the very first time.
$ git --version
If you don’t have it installed already, it will prompt you to install it.
If you want a more up to date version, you can also install it via a binary installer. A macOS Git installer is maintained and available for download at the Git website, at https://sourceforge.net/projects/git-osx-installer/files/.
Installing on Linux
If you want to install the basic Git tools on Linux via a binary installer, you can generally do so through the package management tool that comes with your distribution. If you’re on Fedora (or any closely-related RPM-based distribution, such as RHEL or CentOS), you can use dnf:
$ sudo dnf install git-all
If you’re on a Debian-based distribution, such as Ubuntu, try apt:
$ sudo apt install git-all
For more options, there are instructions for installing on several different Unix distributions on the Git website, at https://git-scm.com/download/linux.
Installing on Windows
There are also a few ways to install Git on Windows. The most official build is available for download on the Git website. Just go to https://git-scm.com/download/win and the download will start automatically. Note that this is a project called Git for Windows, which is separate from Git itself; for more information on it, go to https://gitforwindows.org.
To get an automated installation you can use the Git Chocolatey package. Note that the Chocolatey package is community maintained.
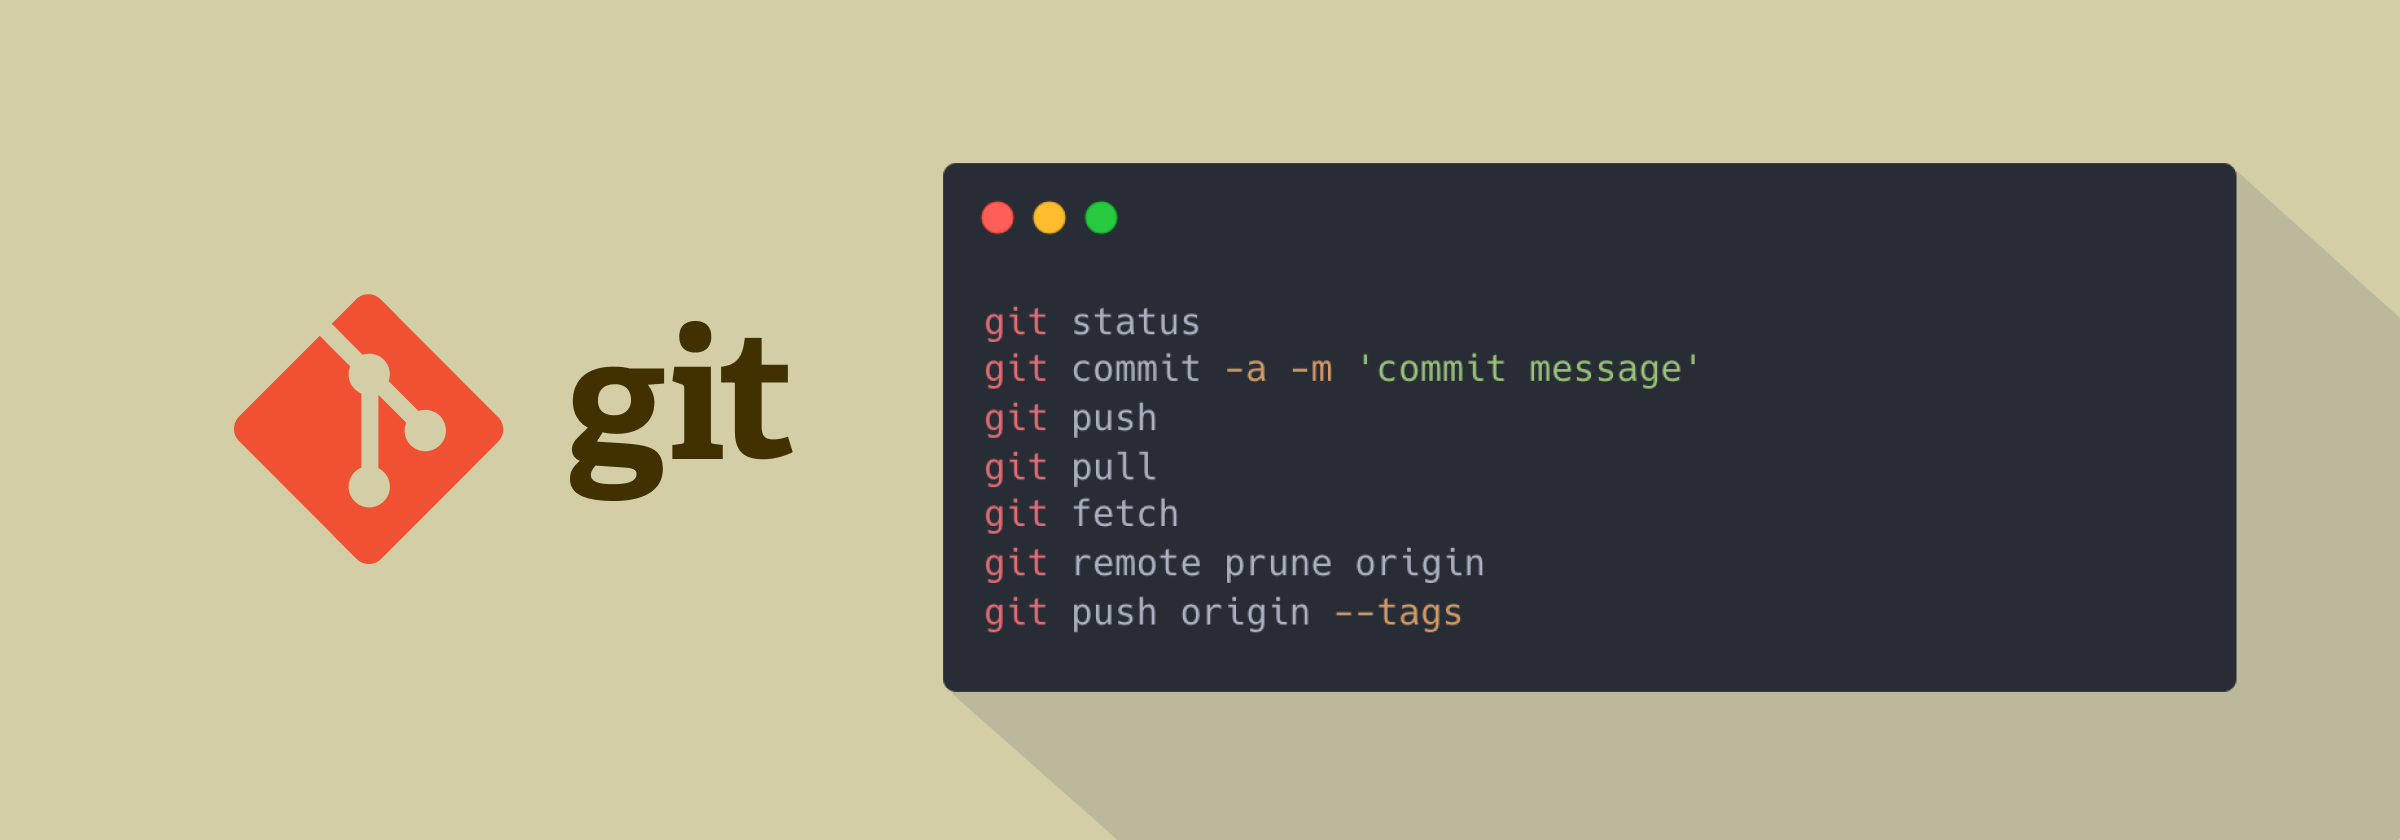
Installing zsh-git
The git plugin provides many aliases and a few useful functions. To use it, add git to the plugins array in your .zshrc file:
plugins=(... git)
For more aliases usage, see Appendix B: Zsh-Git Alias